Nginx和php分离测试
环境准备
| 机器 |
ip |
应用 |
| web01 |
10.0.0.7/172.16.1.7 |
nginx |
| web02 |
10.0.0.8/172.16.1.8 |
php |
##### web01
yum install nginx
groupadd www -g 1001
useradd www -u 1001 -g 1001

# 修改nginx 配置文件

----------------------------------------------------
#### web02
# 安装php8.0 以我文档方法安装
groupadd www -g 1001
useradd www -u 1001 -g 1001

# 修改配置文件
user = www
group = www
listen = 172.16.1.8:9000
listen.allowed_clients = 172.16.1.7


开始测试
#### 代码
[root@web01 ~]# tree -L 2 /code
/code
└── wordpress
    ├── index.php
    ├── license.txt
    ├── readme.html
    ├── wp-activate.php
    ├── wp-admin
    ├── wp-blog-header.php
    ├── wp-comments-post.php
    ├── wp-config-sample.php
    ├── wp-content
    ├── wp-cron.php
    ├── wp-includes
    ├── wp-links-opml.php
    ├── wp-load.php
    ├── wp-login.php
    ├── wp-mail.php
    ├── wp-settings.php
    ├── wp-signup.php
    ├── wp-trackback.php
    └── xmlrpc.php

[root@web01 ~]# ll /code
total 4
drwxr-xr-x 5 www www 4096 Jun 25 01:29 wordpress


#### 配置文件

server {
    listen 80;
    server_name _;

    root /code/wordpress;
    index index.php index.html index.htm;

    # 设置访问日志和错误日志
    access_log /var/log/nginx/wordpress_access.log;
    error_log /var/log/nginx/wordpress_error.log;

    # 处理静态文件
    location / {
        try_files $uri $uri/ /index.php?$args;
    }

    # 处理 PHP 文件
    location ~ \.php$ {
        fastcgi_pass 172.16.1.8:9000;
        fastcgi_param SCRIPT_FILENAME $document_root$fastcgi_script_name;
        include fastcgi_params;
    }

    # 禁止访问隐藏文件,如 .htaccess
    location ~ /\.ht {
        deny all;
    }
}
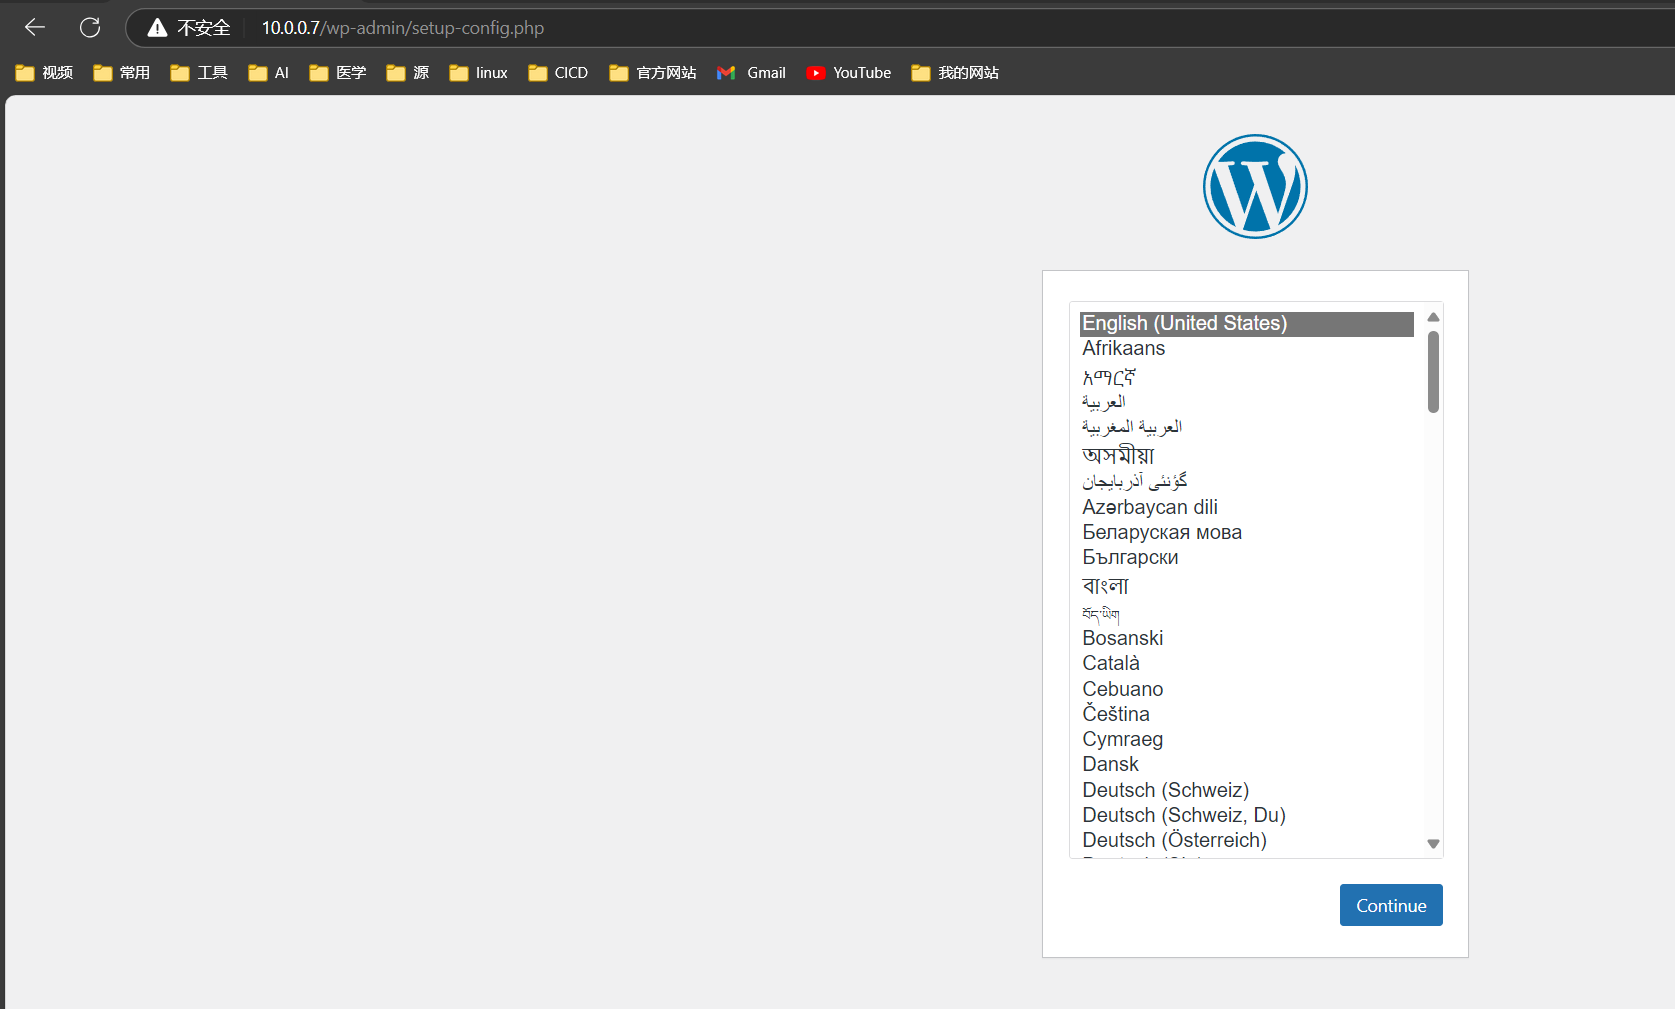
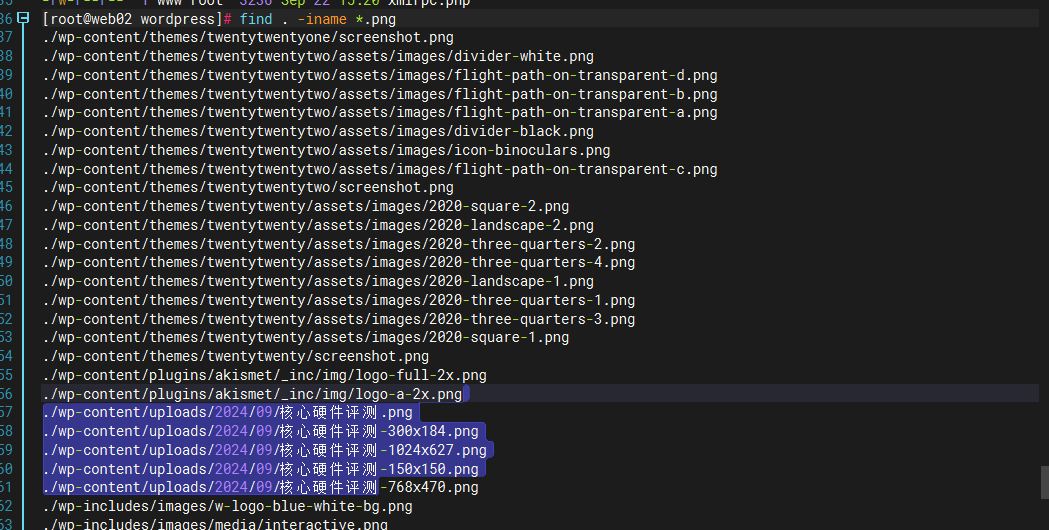
当网站代码只存在与web01 时
两个服务器代码位置相同
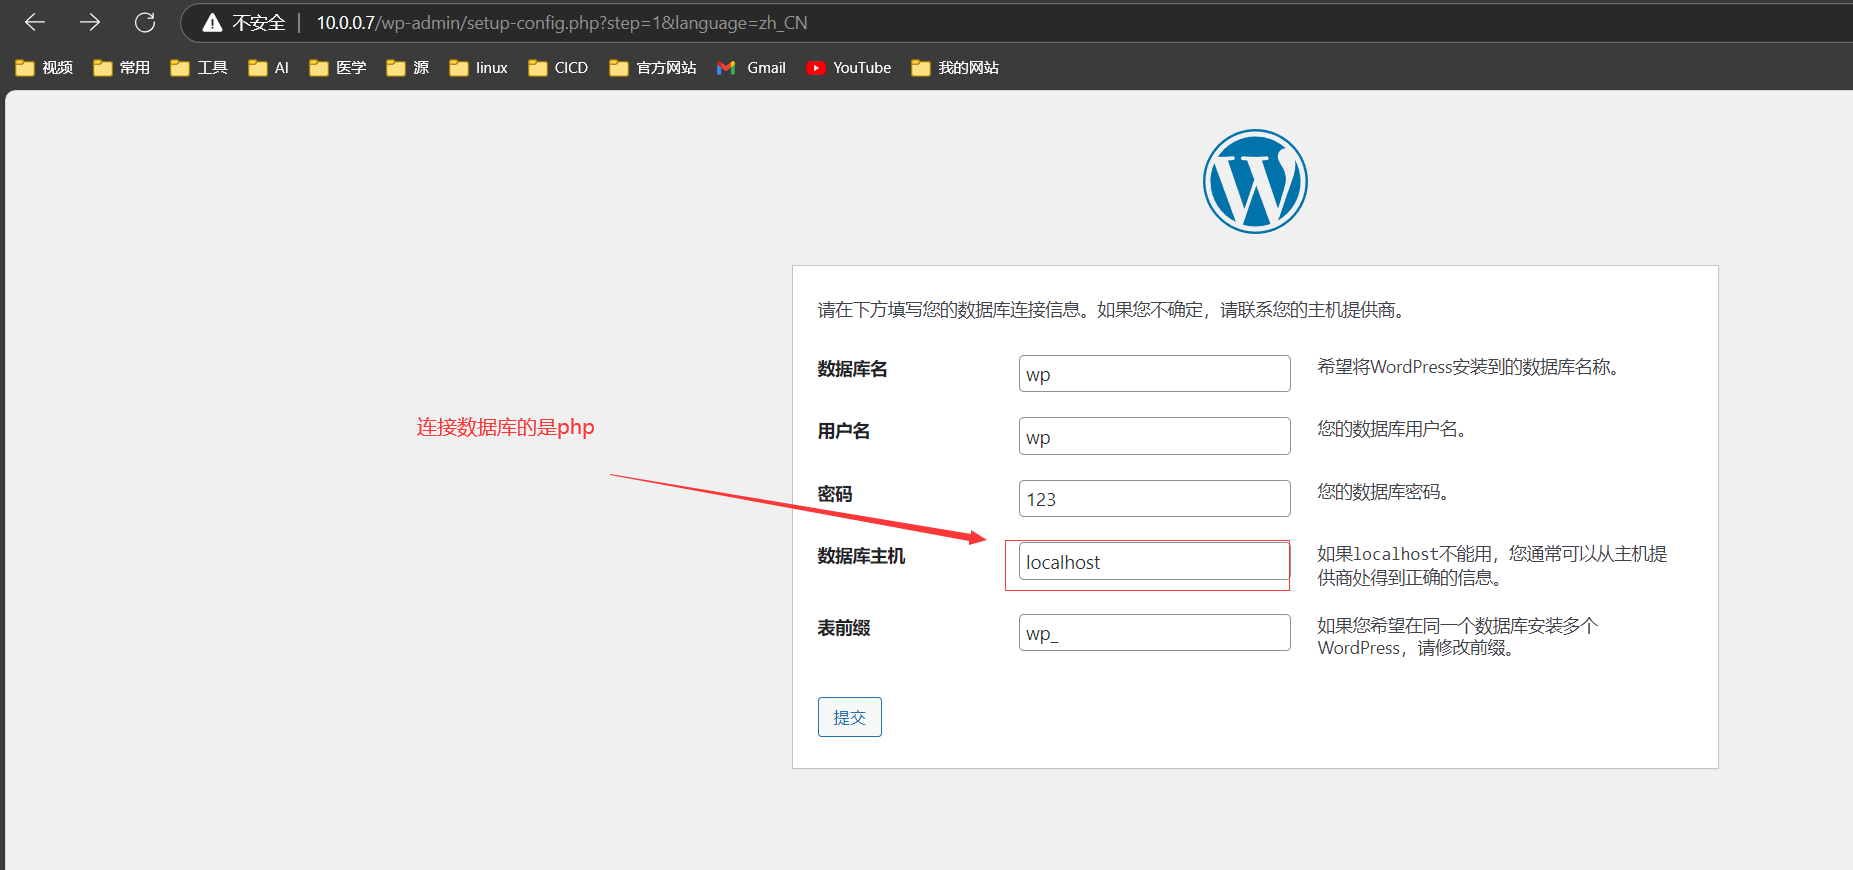
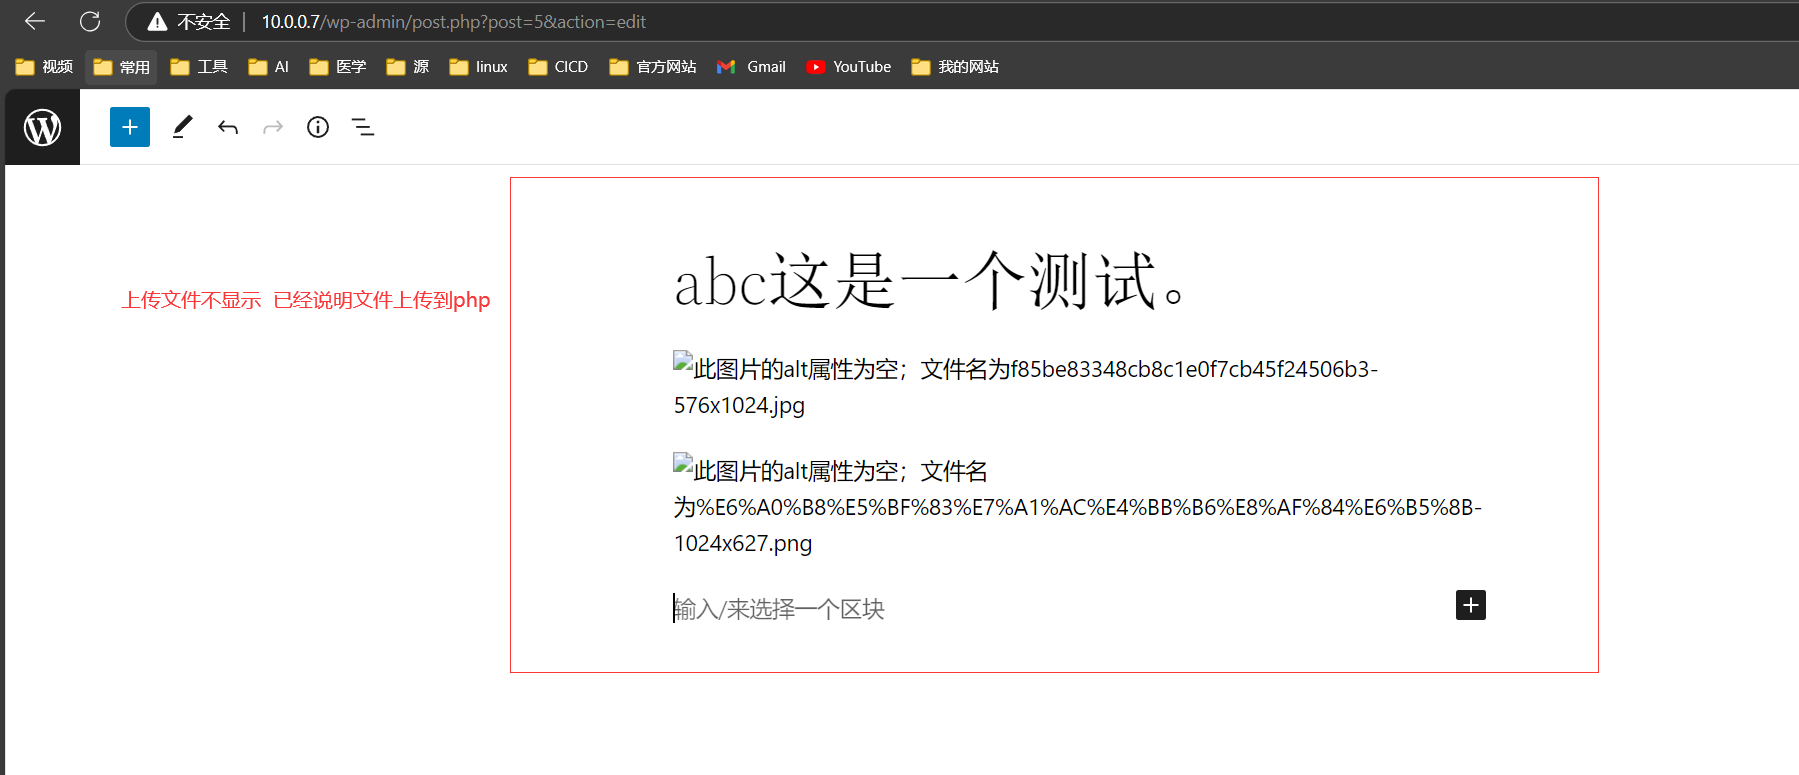
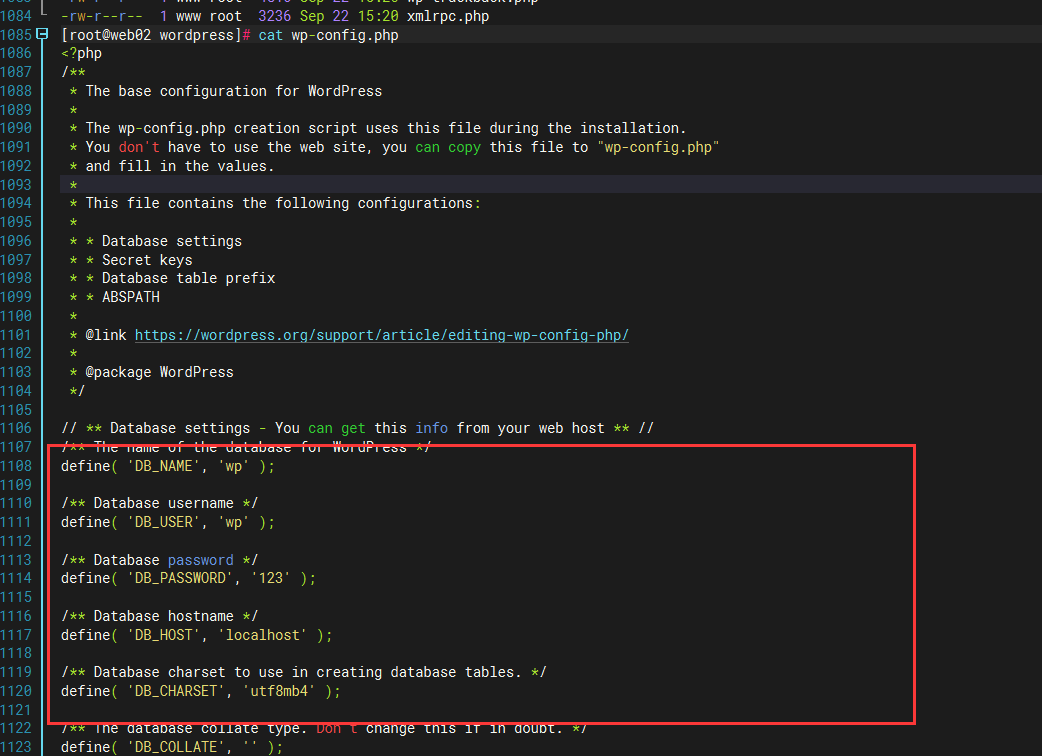
#### 数据库的信息也是记录在php端
### 前后的文件大小 没有变化
[root@web01 /]# du -s /code/wordpress
63924   /code/wordpress
[root@web01 /]# du -s /wordpress
63924   /wordpress

[root@web01 /]# rm /code/wordpress/* -rf  ### 删除文件后无法访问  只起到一个框架的作用

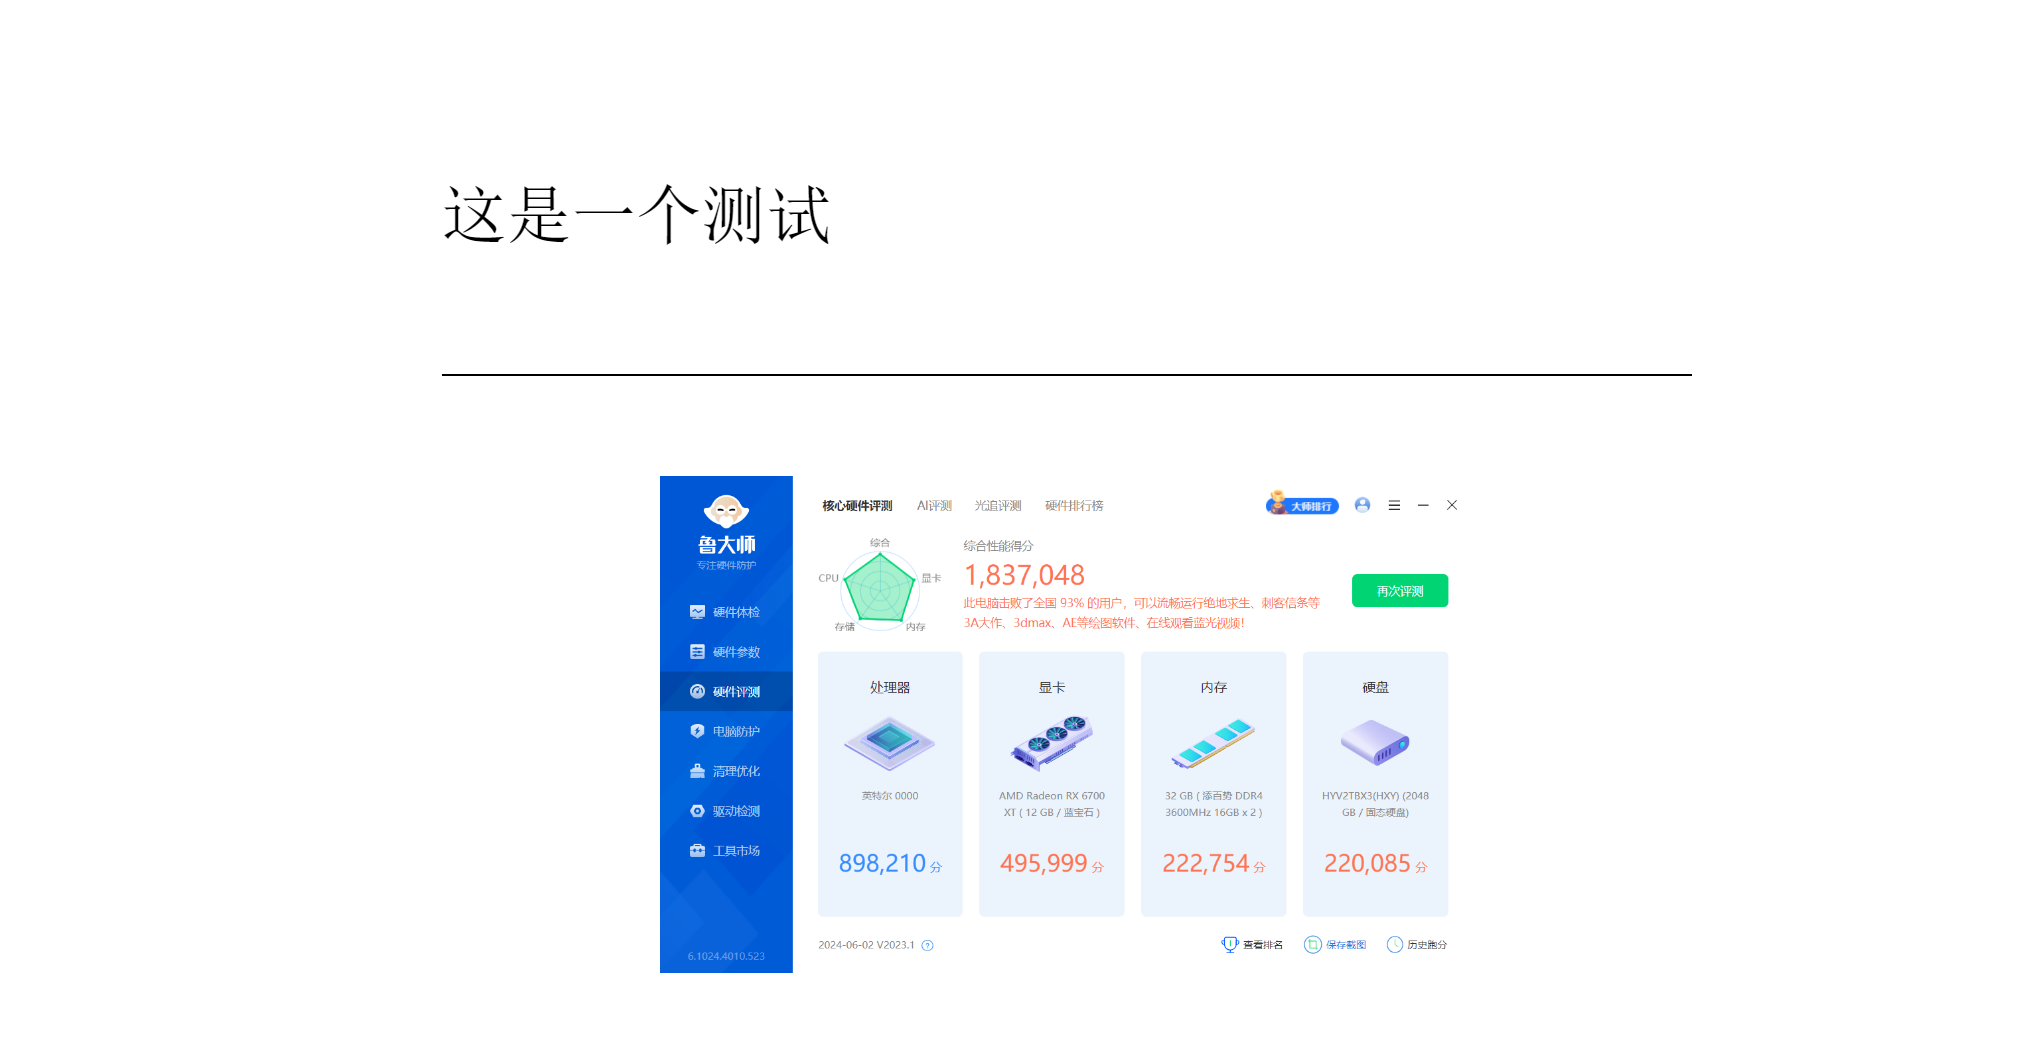
解决图问题
NFS
#### php端
yum -y install nfs-utils
vim /etc/exports
/code/wordpress/wp-content/uploads 172.16.1.0/24(rw,sync,all_squash)

systemctl start nfs-server
#### nginx端
yum -y install nfs-utils
showmount -e 172.16.1.8
mount -t nfs 172.16.1.8:/code/wordpress/wp-content/uploads /code/wordpress/wp-content/uploads
sersync
##### php 端
yum install -y rsync inotify-tools


#### 修改配置文件
    <sersync>
        <localpath watch="/code/wordpress/wp-content/uploads">
            <remote ip="172.16.1.7" name="tu"/>
            <!--<remote ip="192.168.8.39" name="tongbu"/>-->
            <!--<remote ip="192.168.8.40" name="tongbu"/>-->
        </localpath>
        <rsync>
            <commonParams params="-az"/>
            <auth start="tree" users="rsync_nginx" passwordfile="/etc/rsync.pas"/>
            <userDefinedPort start="false" port="874"/><!-- port=874 -->
            <timeout start="false" time="100"/><!-- timeout=100 -->
            <ssh start="false"/>
        </rsync>


echo '123' > /etc/rsync.pass
chmod 600 /etc/rsync.pass
/app/sersync/sersync2 -rdo /app/sersync/confxml.xml
##### nginx
yum install -y rsync

vim /etc/rsyncd.conf
uid = www
gid = www
port = 873
fake super = yes
use chroot = no
max connections = 200
timeout = 600
ignore errors
read only = false
list = false
auth users = rsync_nginx
secrets file = /etc/rsync.password
log file = /var/log/rsyncd.log

[tu]
comment = wordpresstu
path = /code/wordpress/wp-content/uploads


echo "rsync_nginx:123" > /etc/rsync.password
chmod 600 /etc/rsync.password
systemctl start rsyncd
systemctl enable rsyncd


