Filebeat
Filebeat:轻量型日志分析与 Elasticsearch | Elastic
安装
### rpm
(1)下载filebeat软件包
wget .。。。/filebeat-7.17.5-x86_64.rpm

(2)安装filebeat
rpm -ivh filebeat-7.17.5-x86_64.rpm

(3)验证filebeat安装是否成功
filebeat -h


### 二进制
(1)下载filebeat软件包
wget http://192.168.15.253/ElasticStack/day04-/filebeat-7.17.5-linux-x86_64.tar.gz

(2)解压软件包
tar xf filebeat-7.17.5-linux-x86_64.tar.gz -C /oldboyedu/softwares/

(3)验证filebeat安装是否成功
cd /oldboyedu/softwares/filebeat-7.17.5-linux-x86_64/
ln -svf `pwd`/filebeat /usr/local/sbin/
filebeat -h
配置
创建filebeat的配置文件初体验
(1)创建工作目录
mkdir /app/filebeat/config -p
测试 stdin
编写配置文件
vim /app/filebeat/config/stdin.yaml
# 配置filebeat的输入端
filebeat.inputs:
  # 指定输入端的类型为标准输入
  - type: stdin
  # 指定filebeat的输出端为console
  output.console:
  # 表示输出的内容以漂亮的格式显示
    pretty: true

filebeat -e -c /app/filebeat/config/stdin.yaml
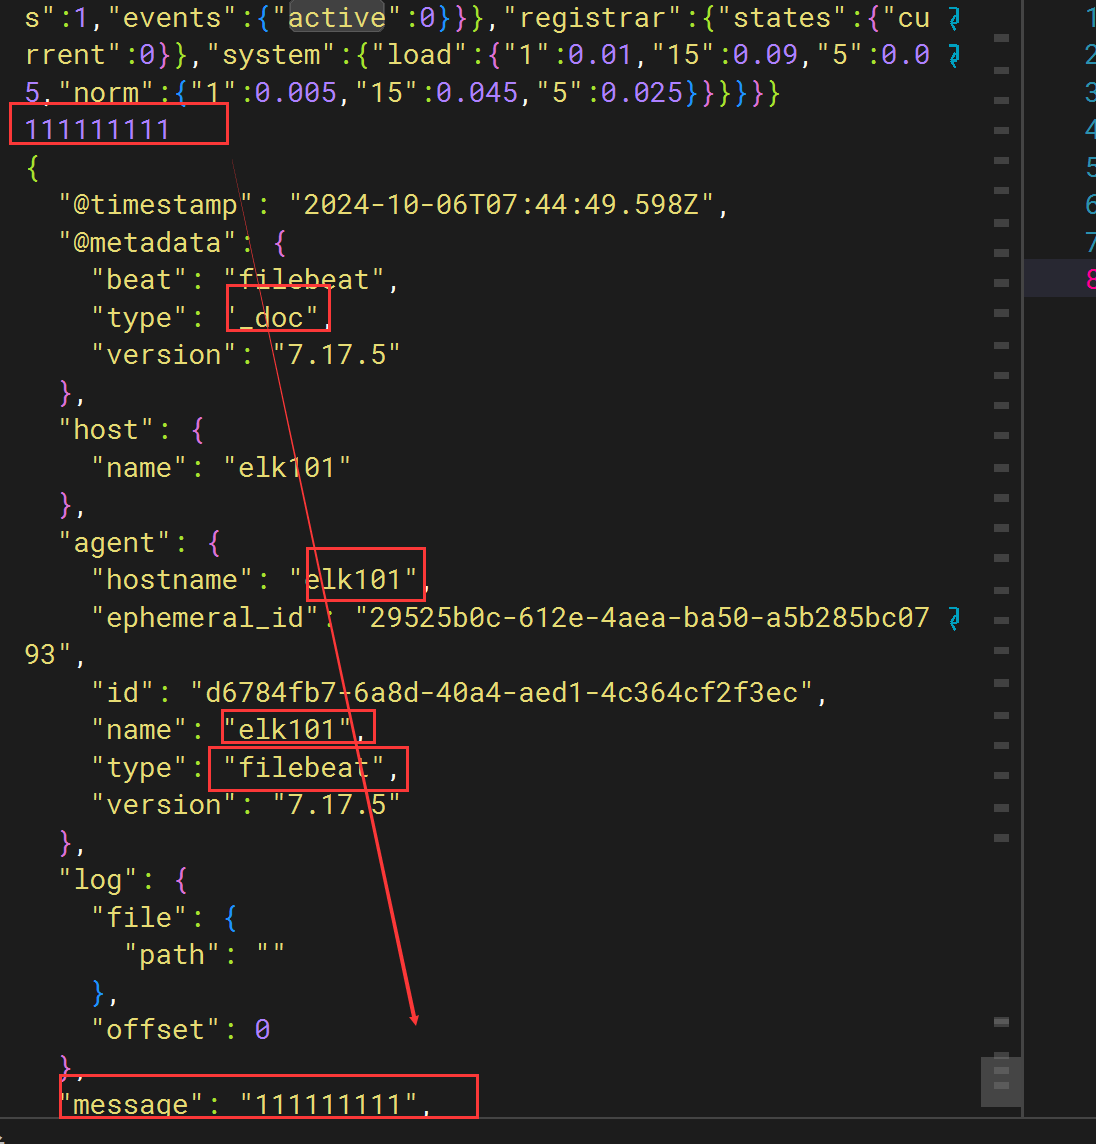
测试 tcp
vim /app/filebeat/config/tcp.yaml
filebeat.inputs:
  # 指定类型为tcp
- type: tcp
  # 定义tcp监听的主机和端口
  host: 0.0.0.0:8888
# 指定filebeat的输出端为console
output.console:
  # 表示输出的内容以漂亮的格式显示
  pretty: true

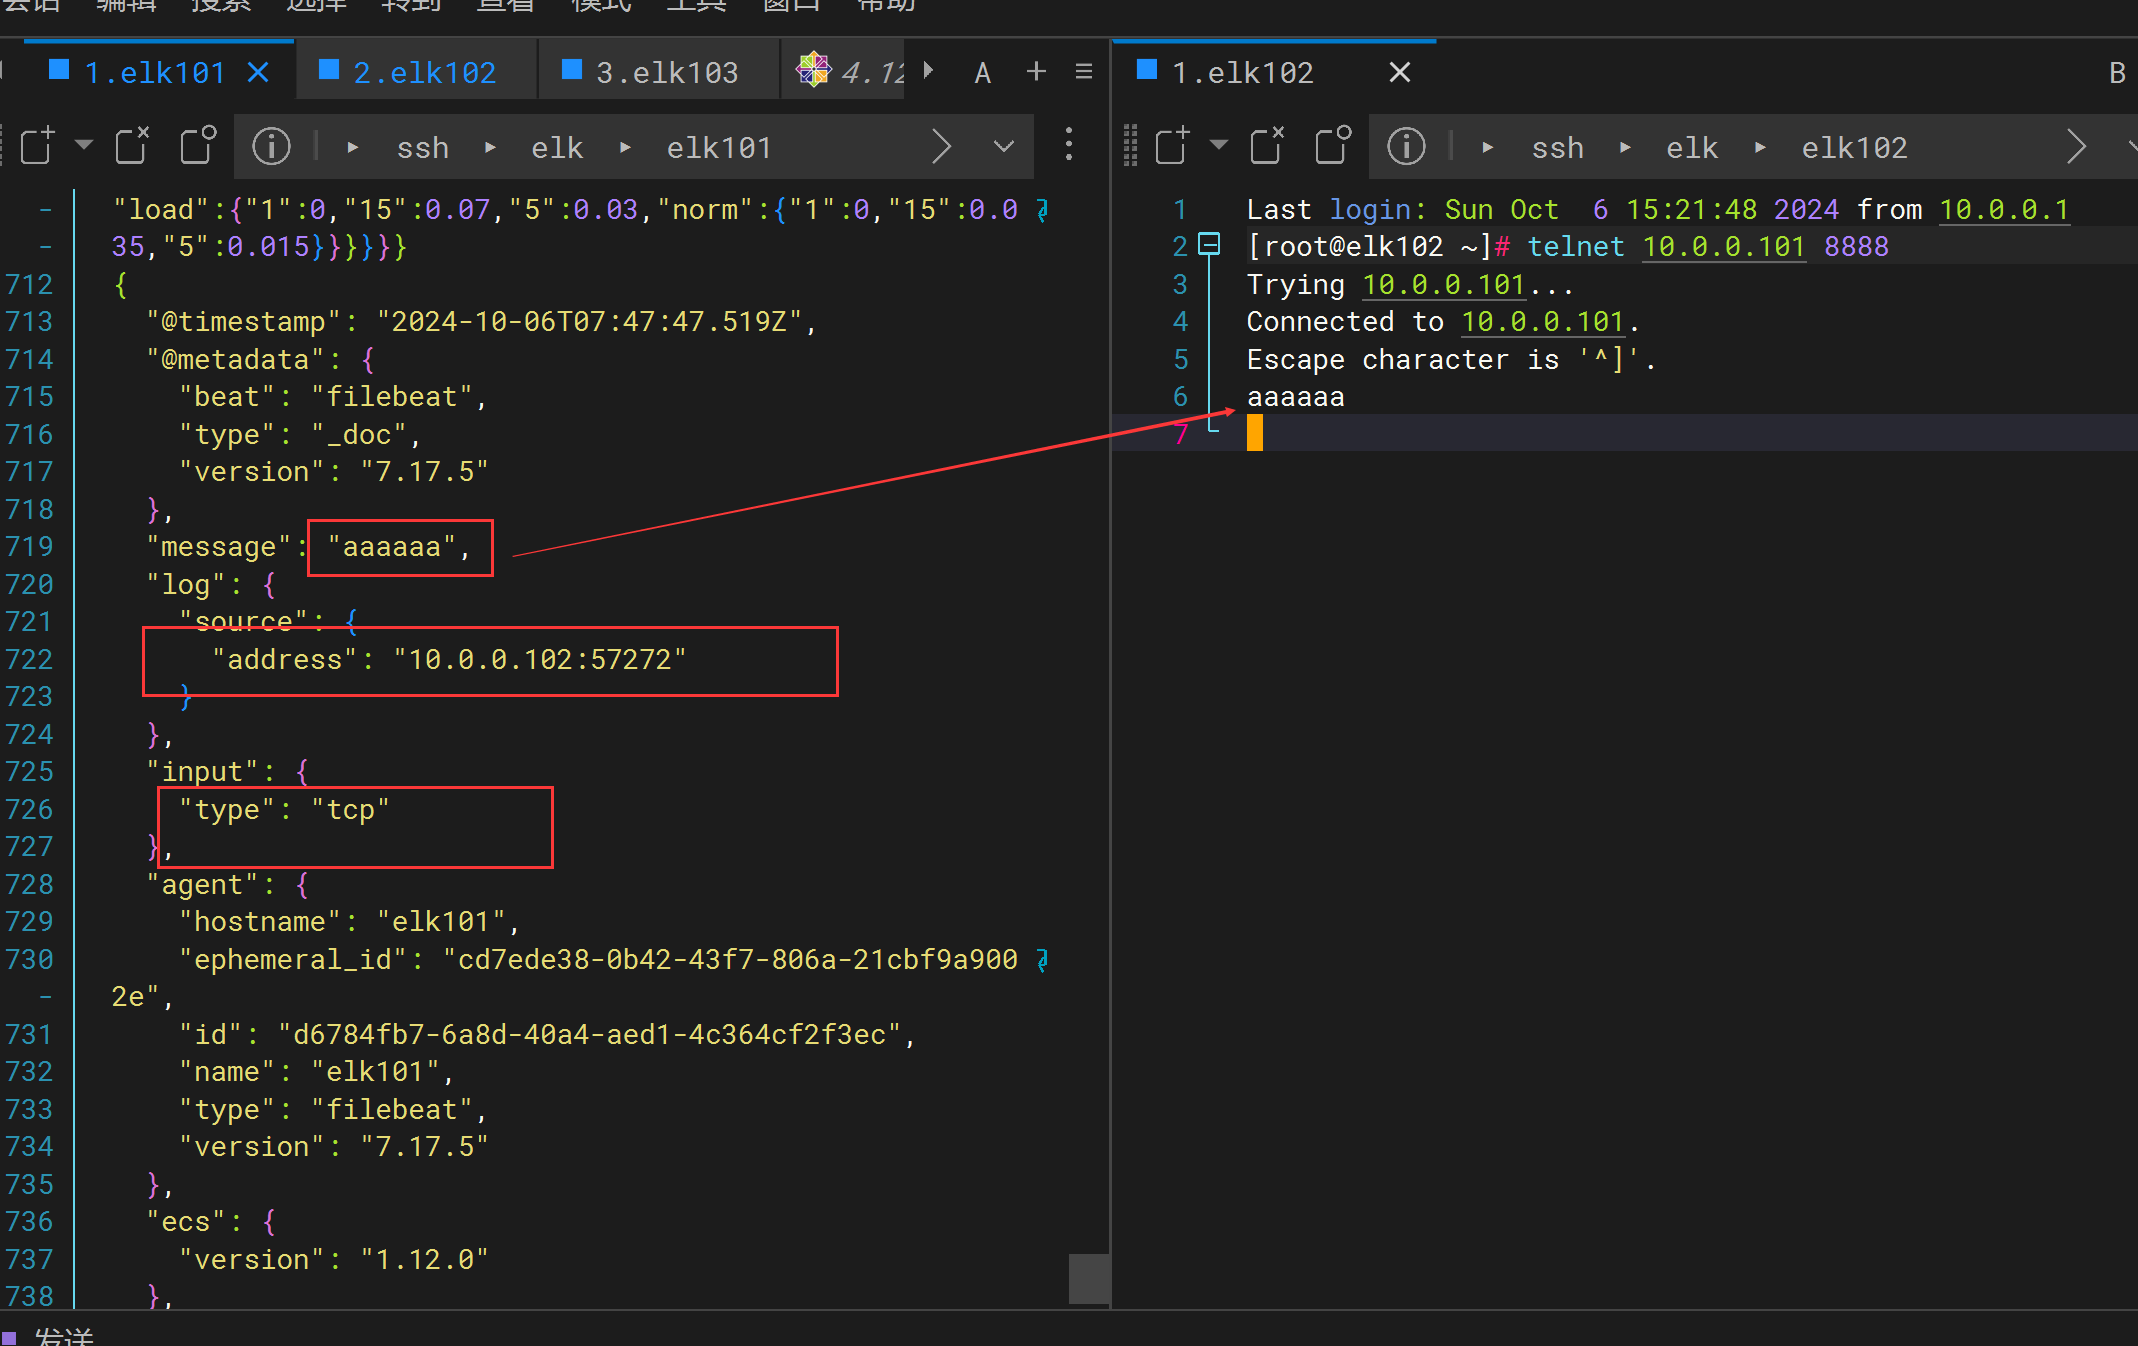
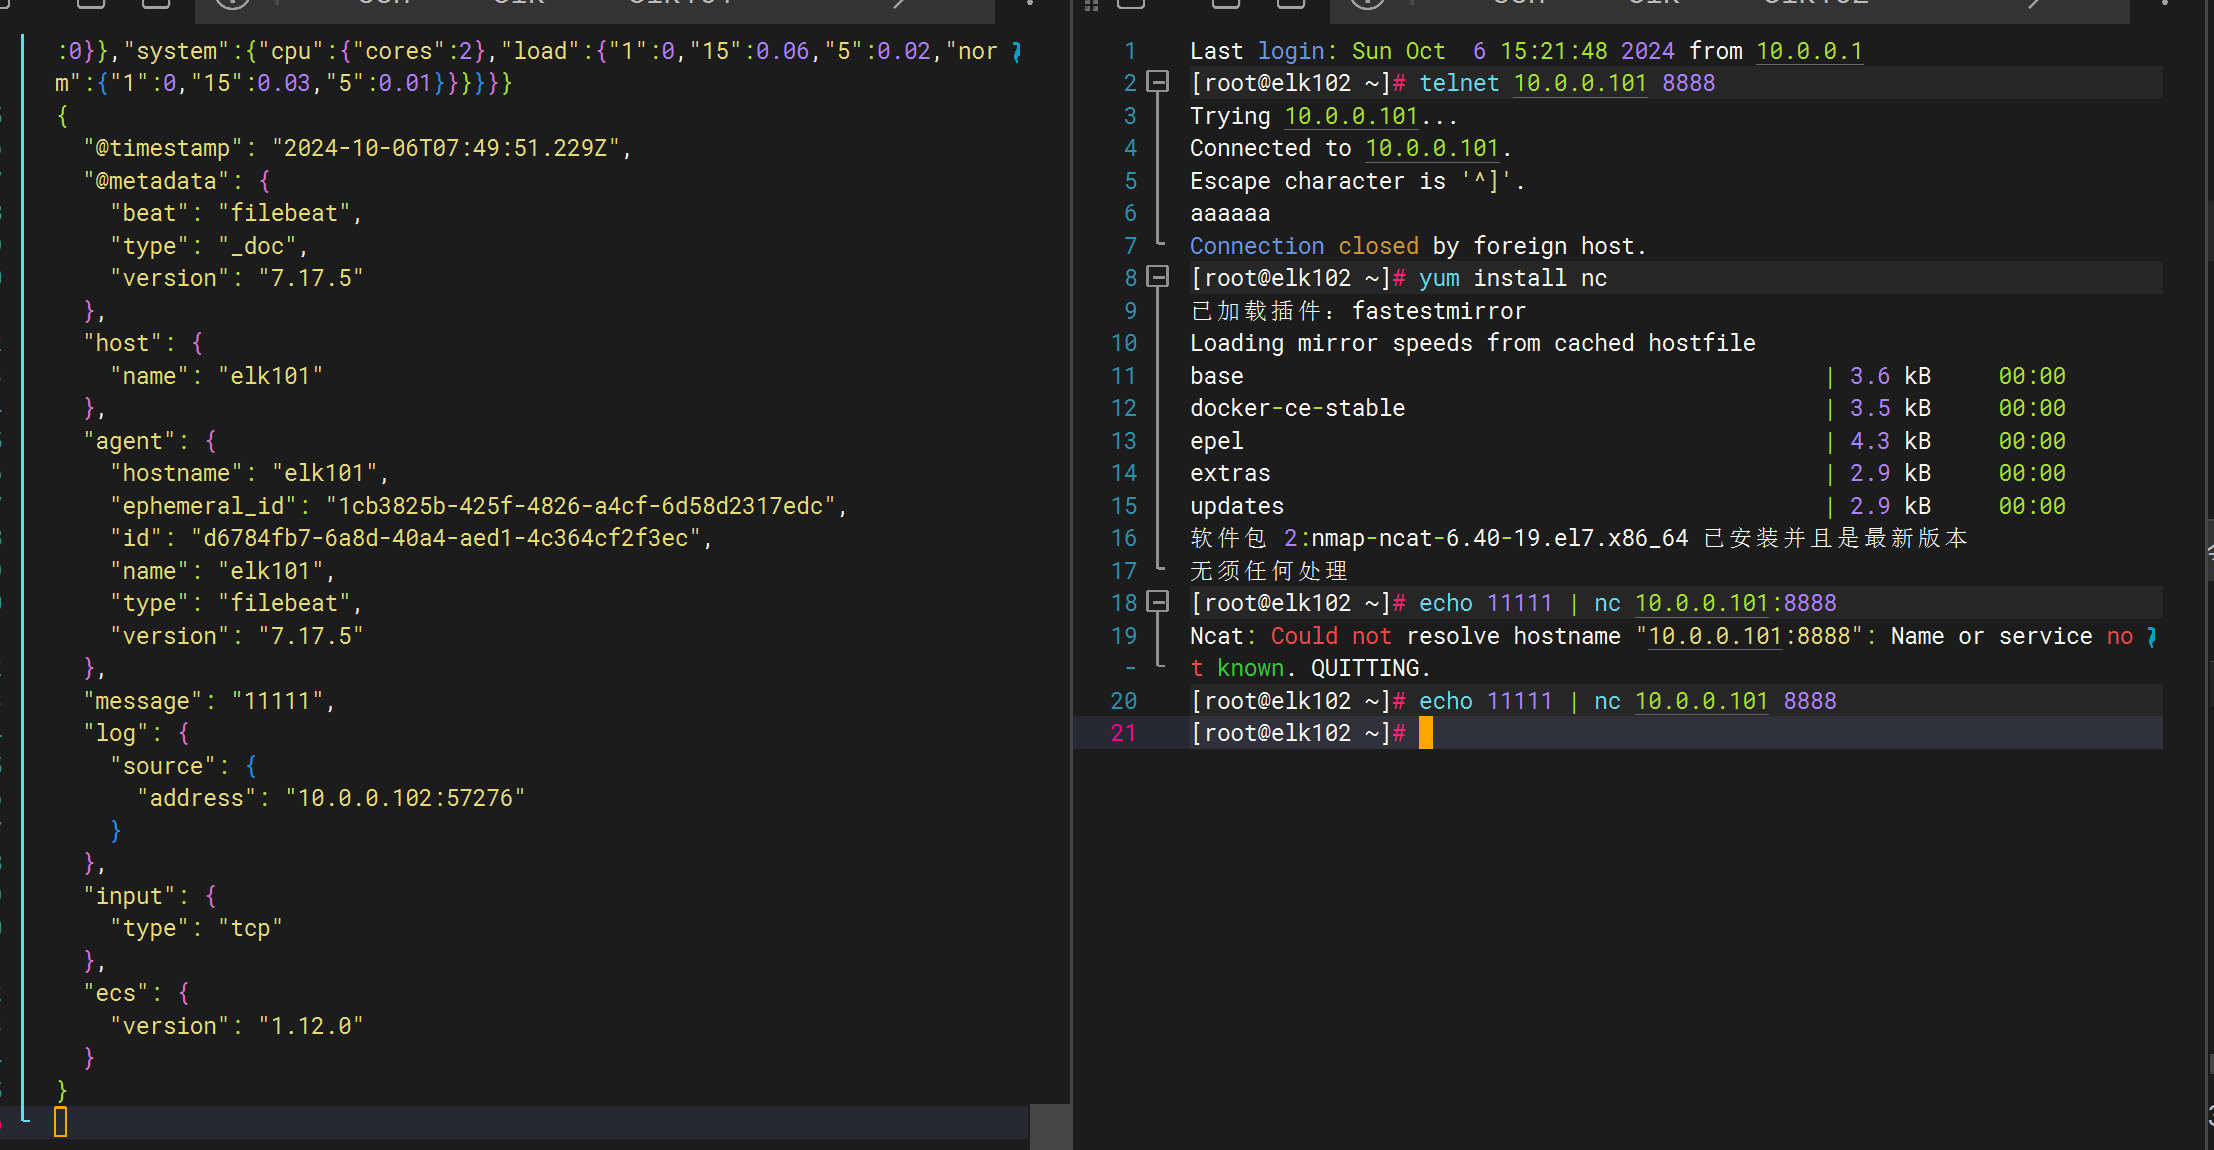
filebeat -e -c /app/filebeat/config/tcp.yaml

使用telnet 或者 nc 客户端测试
测试filebeat.inputs: - log
vim /app/filebeat/config/log.yaml
filebeat.inputs:
  # 指定输入类型是log
- type: log
  # 指定文件路径
  paths:
    - /tmp/aaa/*.log
    - /tmp/aaa/*/*.json
    # 注意,两个*可以递归匹配
    - /tmp/aaa/**/*.exe
# 指定filebeat的输出端为console
output.console:
  # 表示输出的内容以漂亮的格式显示
  pretty: true
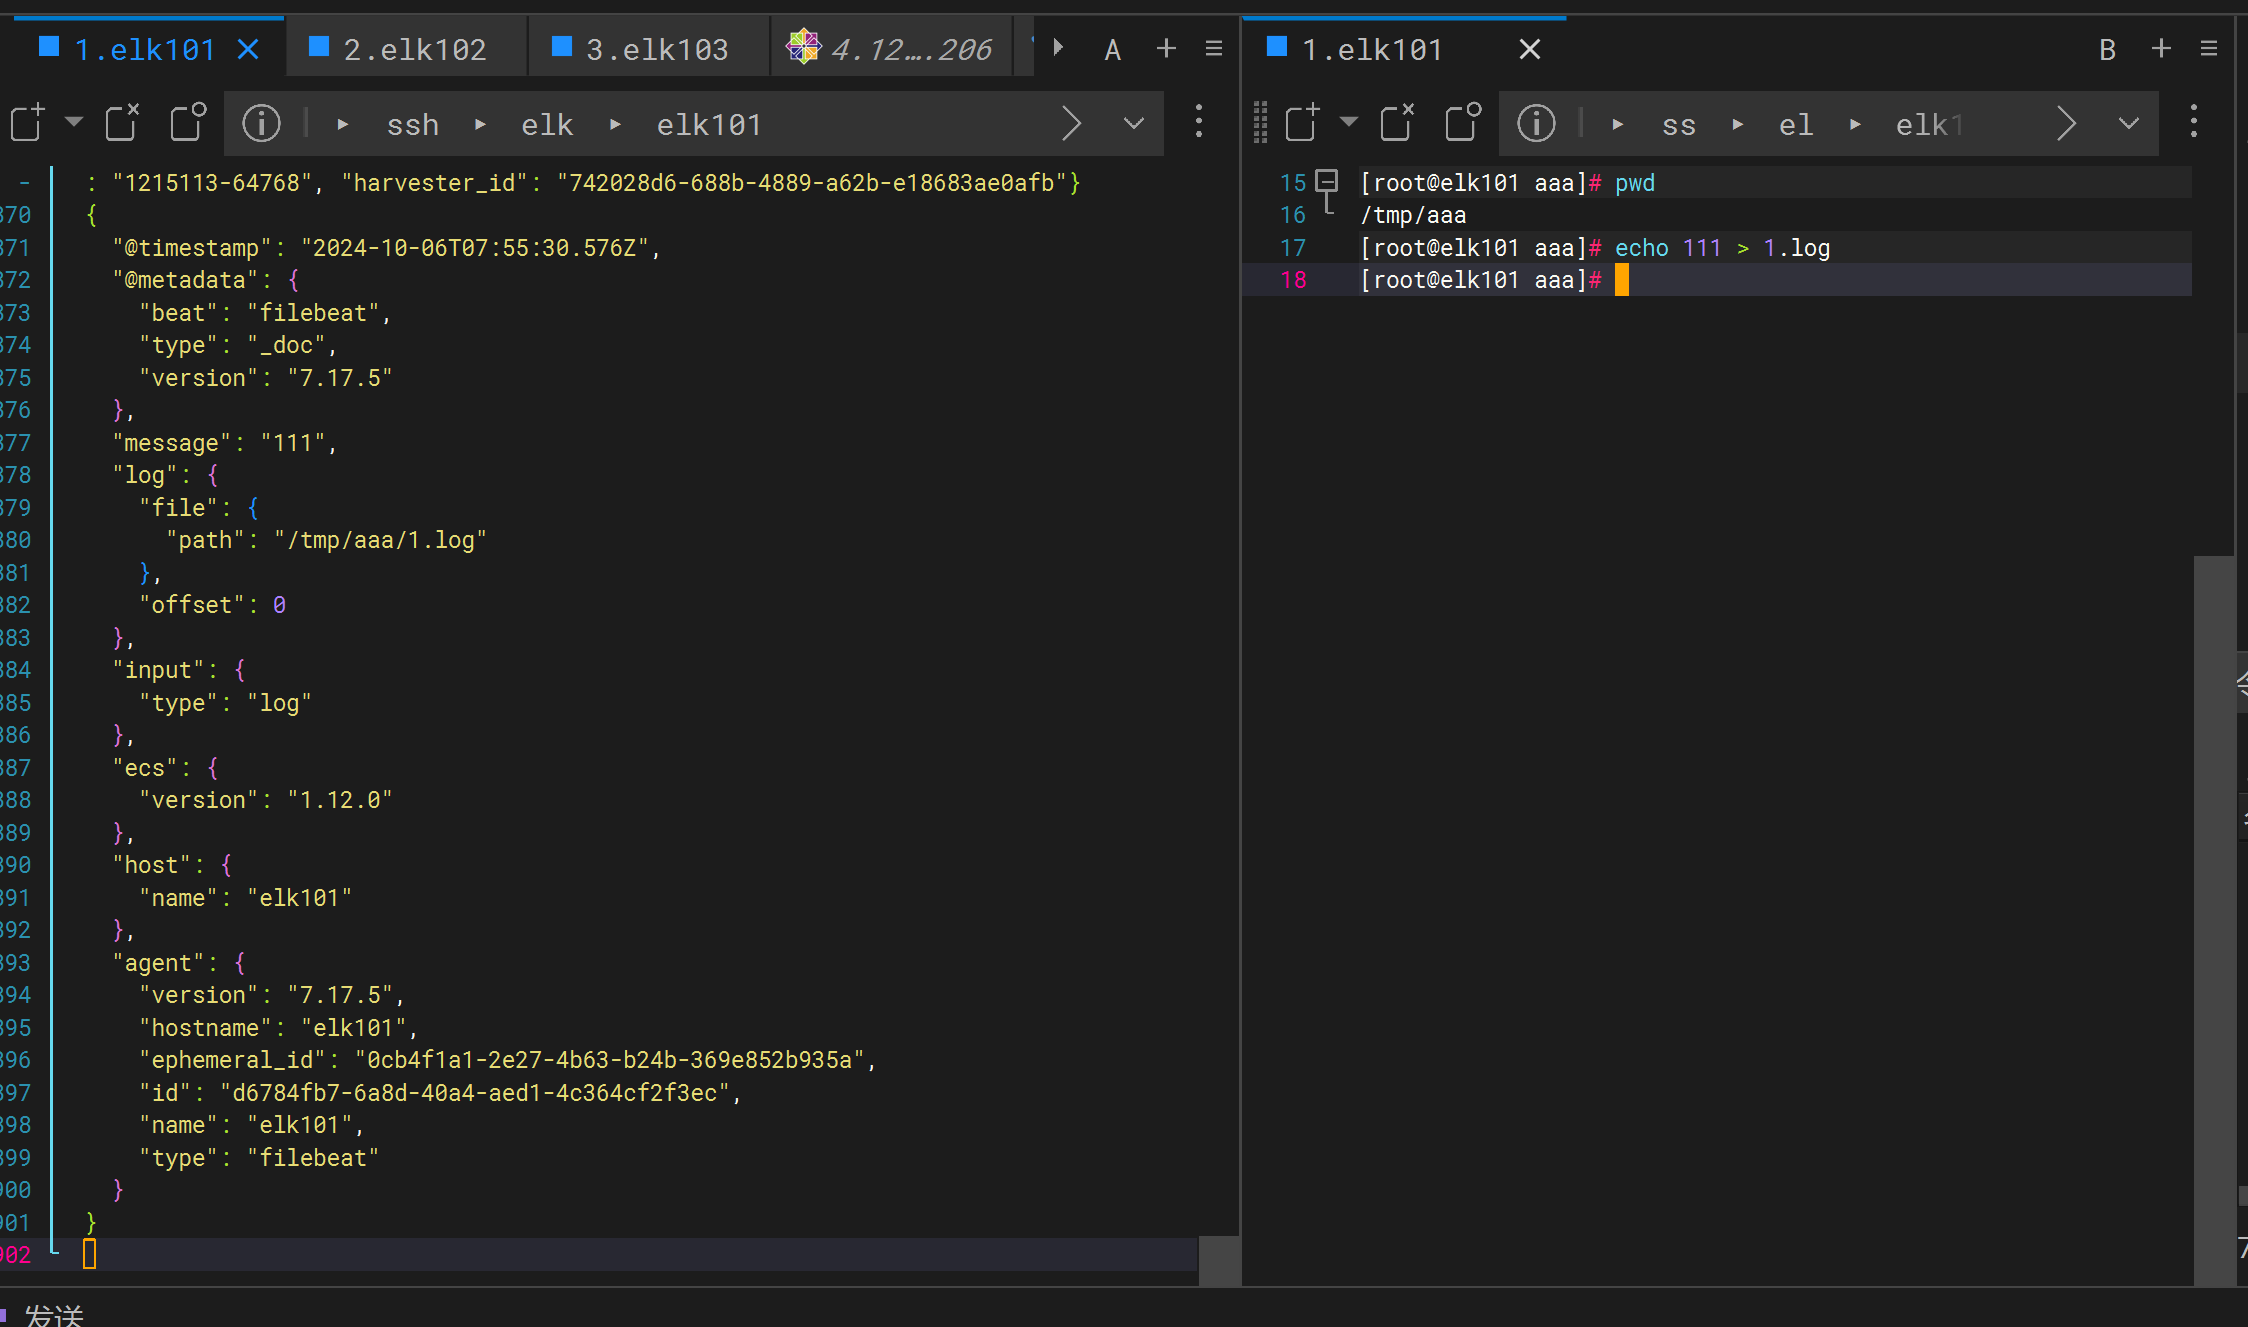
[root@elk101 aaa]# echo 222 > bbb/1.log
无检测
[root@elk101 aaa]# echo 3333 > 1.json
无检测
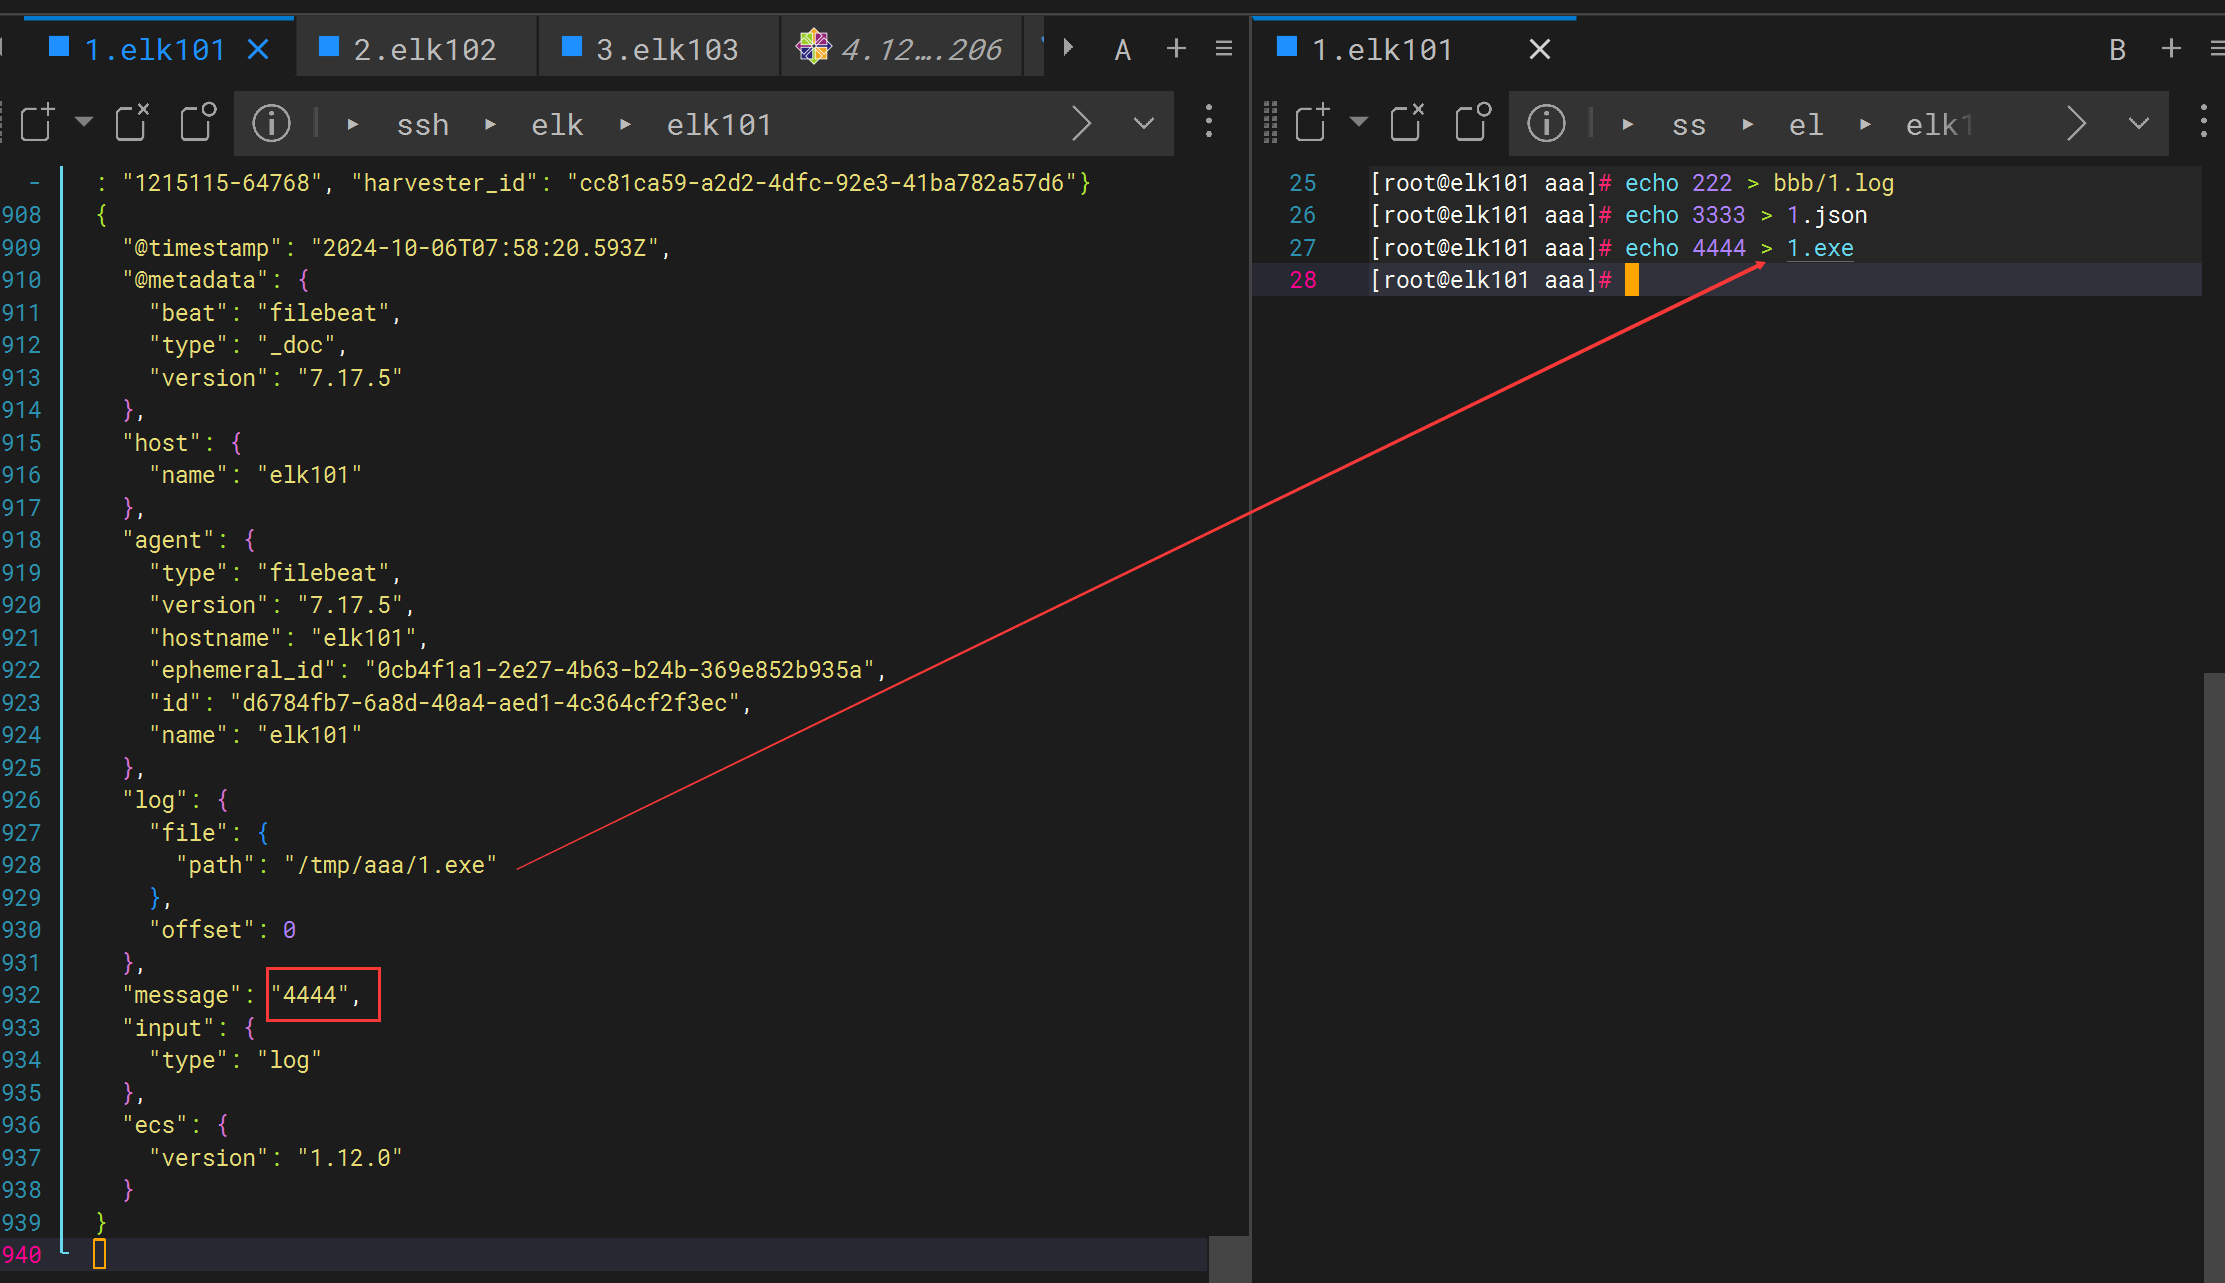
## 强力检测
[root@elk101 aaa]# echo 4444 > 1.exe
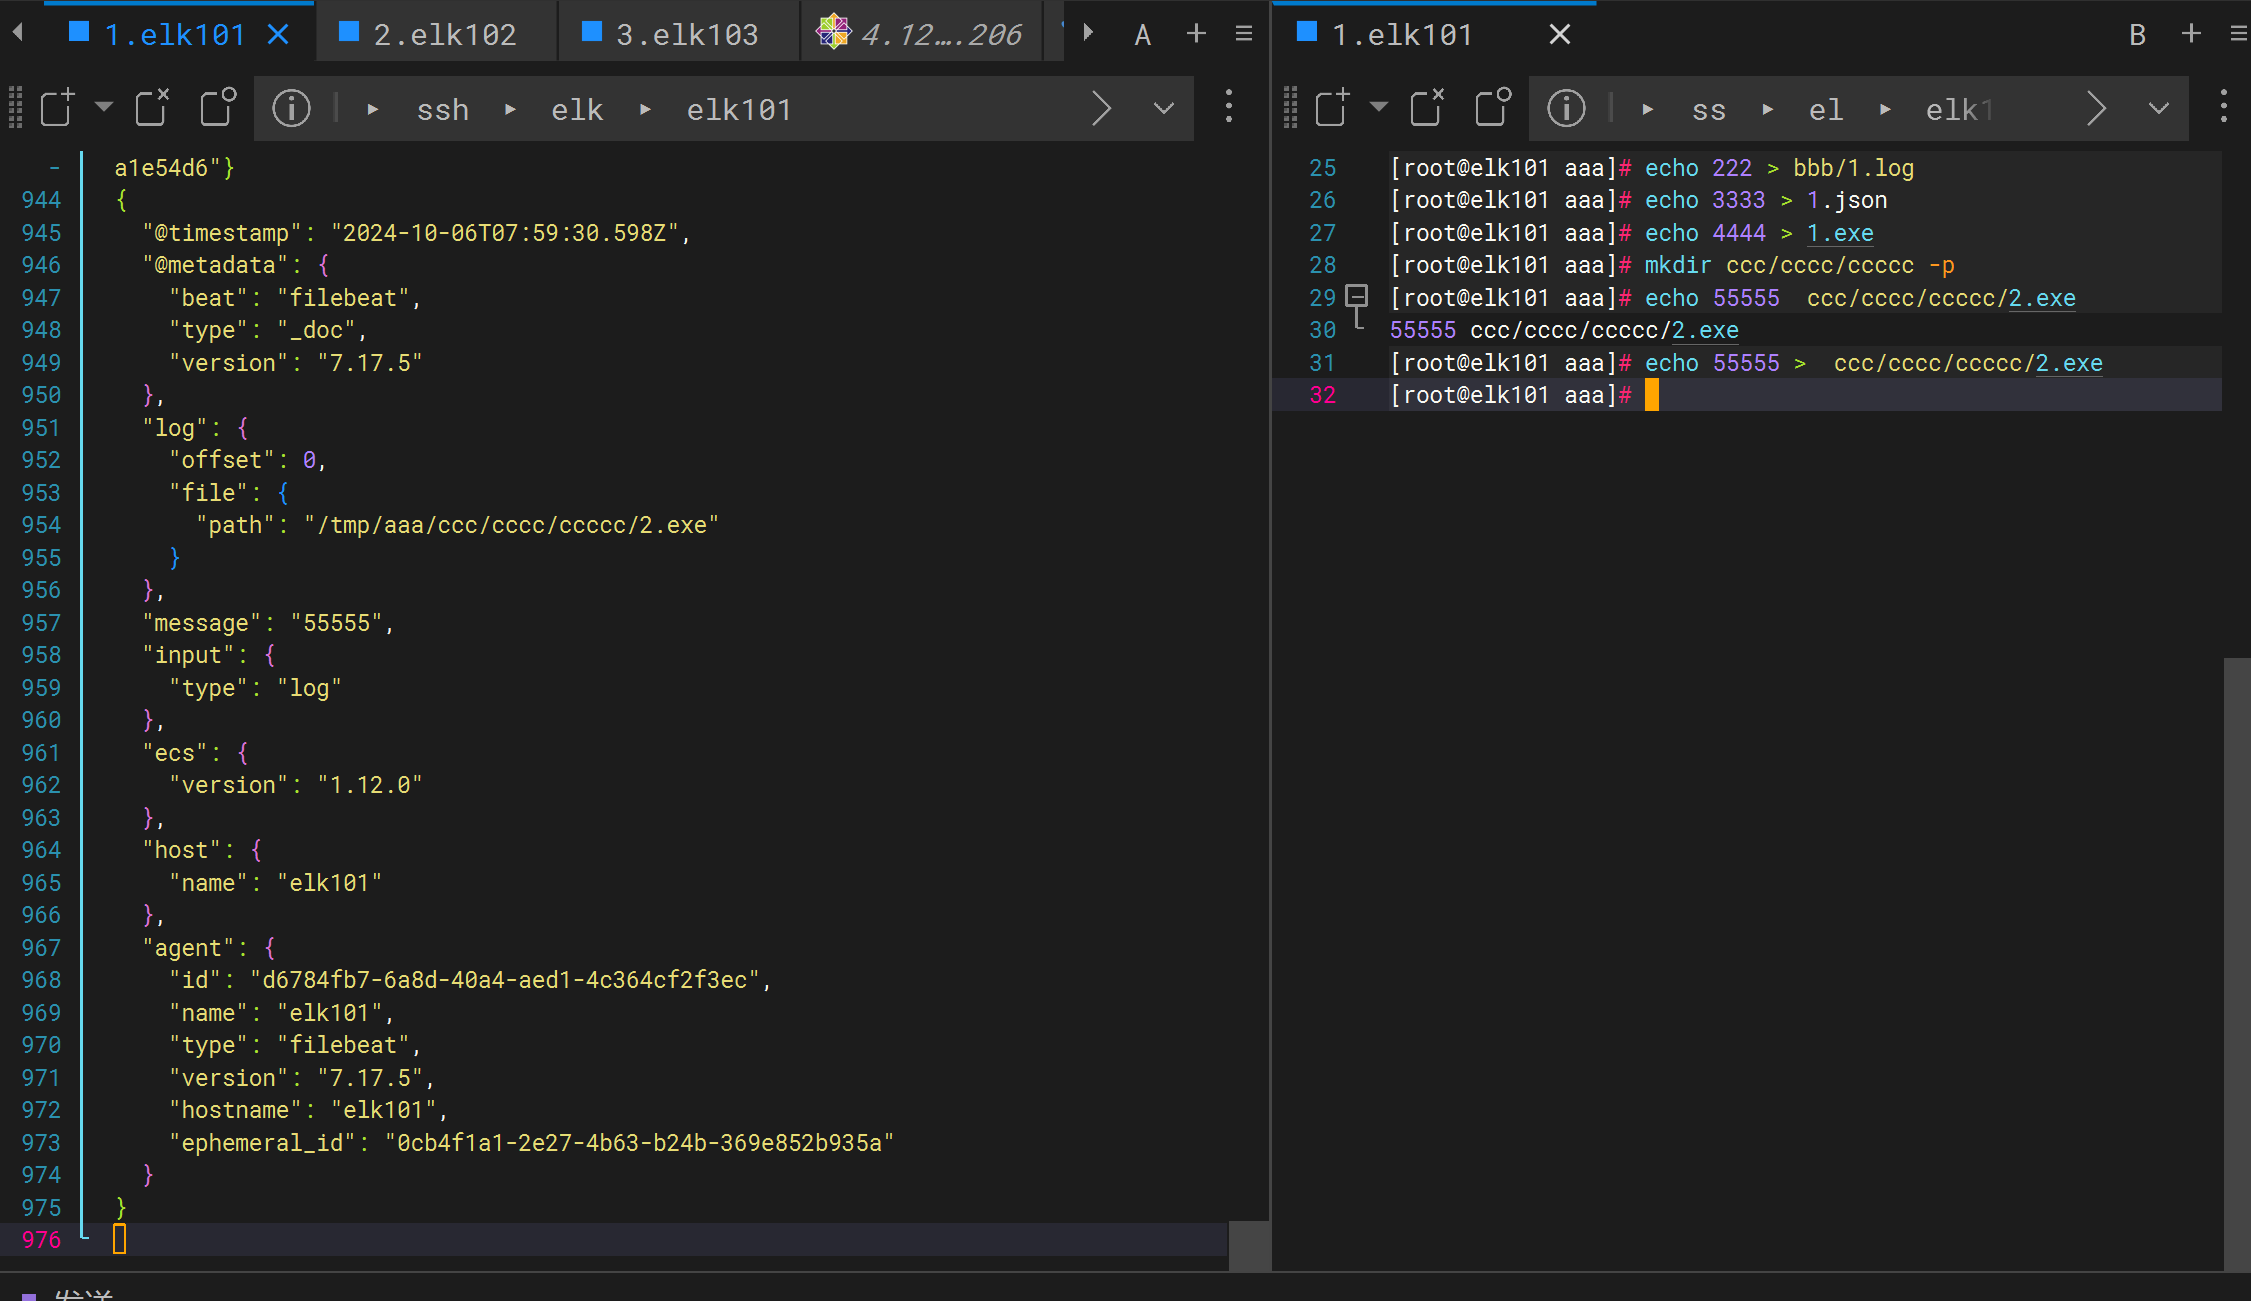
[root@elk101 aaa]# echo 55555 >  ccc/cccc/ccccc/2.exe
通用input字段案例
filebeat input插件的通用字段(common options):
	- enabled:
		是否启用该组件,有true和false,默认值为true。当设置为false时,表示该input组件不会被加载执行!
	- tags:
		给每条数据添加一个tags标签列表。
	- fields
		给数据添加字段。
	- fields_under_root
		该值默认值为false,将自定义的字段放在一个"fields"的字段中。若设置为true,则将fields的KEY放在顶级字段中。
    - processors:
		定义处理器,对源数据进行简单的处理。
参考链接:
	https://www.elastic.co/guide/en/beats/filebeat/7.17/defining-processors.html
综合案例1:
1 关闭对/tmp/aaa目录下的收集
2 开启一个8888端口来监控
3 对数据打标签
4 加上一些字段
5.不接受linux开头的信息
6.又error 就删除"class","tags" 字段
7. 对数据转换
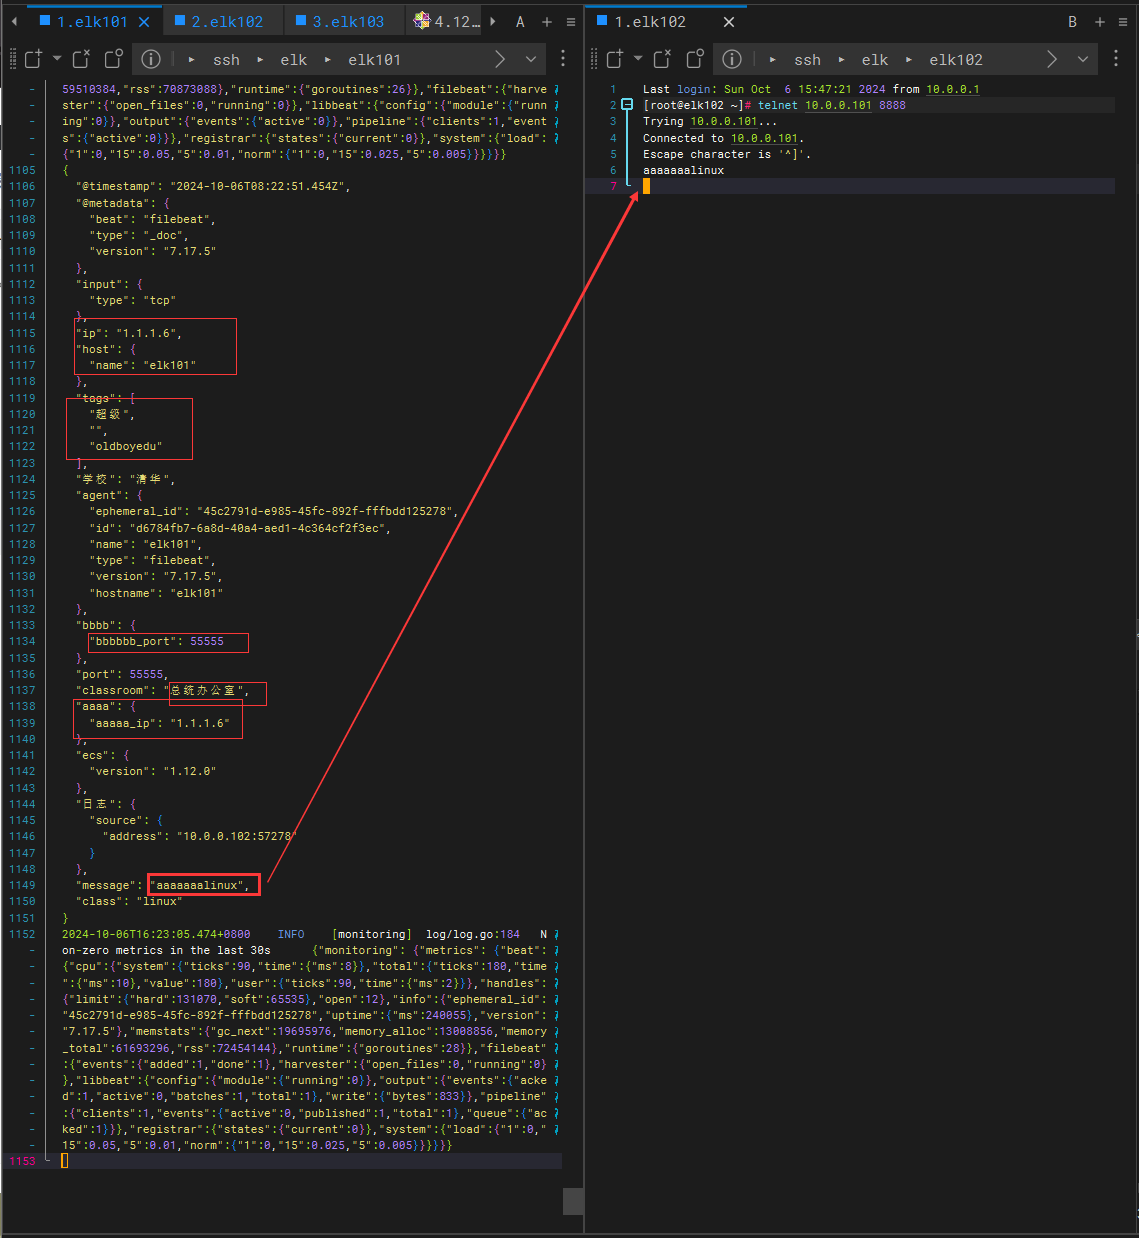
vi /app/filebeat/config/zh.yaml
filebeat.inputs:
- type: log
  paths:
    - /tmp/aaa/*.log
    - /tmp/aaa/*/*.json
    - /tmp/aaa/**/*.exe
  # 是否启用该类型,默认值为true。
  enabled: false
- type: tcp
  enabled: true
  host: "0.0.0.0:8888"
  # 给数据打标签,会在顶级字段多出来多个标签
  tags: ["超级","无敌","飞起来"]
  # 给数据添加KEY-VALUE类型的字段,默认是放在"fields"中的
  fields:
    school: "清华"
    class: "linux"
    classroom: "总统办公室"
    ip: "110.120.110.4"
    port: 55555
  # 若设置为true时,则将fields添加的自定义字段放在顶级字段中,默认值为false。
  fields_under_root: true
  # 定义处理器,过滤指定的数据
  processors:
    # 删除消息是以 linux 开头的事件(event)
  - drop_event:
      when:
        regexp:
          message: "^linux"
    # 如果消息包含 error 内容,删除指定的自定义字段或者 tags
  - drop_fields:
      when:
        contains:
          message: "error"
      fields: ["class","tags"]
      ignore_missing: false
    # 修改字段名称
  - rename:
      fields:
        # 源字段 -> 目标字段
        - from: "school"
          to: "学校"
        - from: "log"
          to: "日志"
    # 转换字段数据类型,并存放在指定的字段中
  - convert:
      fields:
        - {from: "ip", to: "aaaa.aaaaa_ip", type: "ip"}
        - {from: "port", to: "bbbb.bbbbbb_port", type: "integer"}
# 指定filebeat的输出端为console
output.console:
  # 表示输出的内容以漂亮的格式显示
  pretty: true
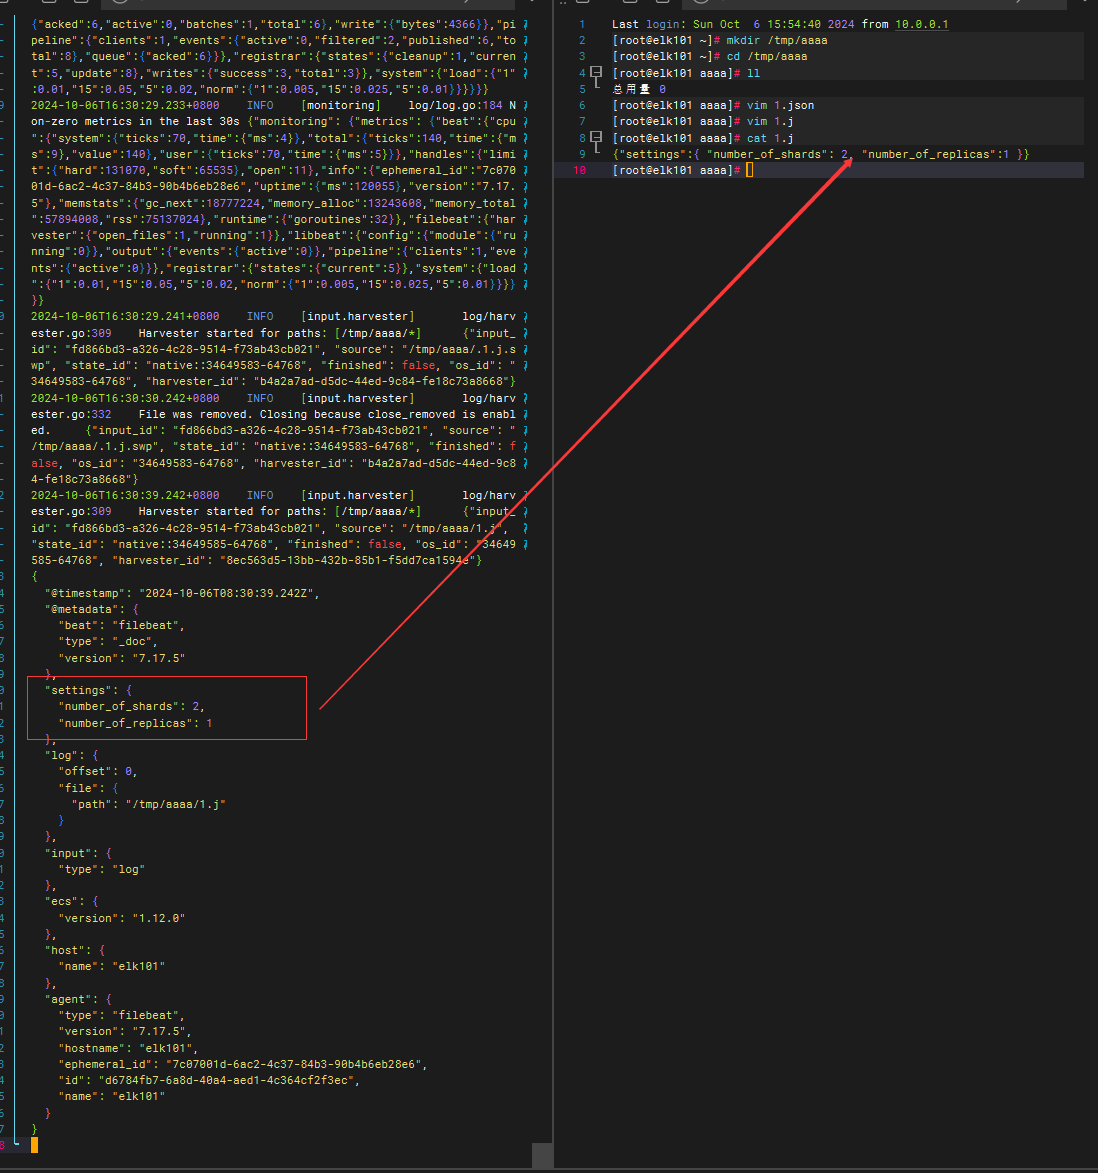
将指定文件转为json格式数据收集
vi /app/filebeat/config/json.yaml
filebeat.inputs:
- type: log
  paths:
    - /tmp/aaaa/*
  # 排除以log结尾的文件
  exclude_files: ['\.log$']
  # 只采集包含指定信息的数据
  # include_lines: ['linux']
  # 只要包含特定的数据就不采集该事件(event)
  # exclude_lines: ['^linux']
  # 将message字段的json数据格式进行解析,并将解析的结果放在顶级字段中
  json.keys_under_root: true
  # 如果解析json格式失败,则会将错误信息添加为一个"error"字段输出
  json.add_error_key: true

# 指定filebeat的输出端为console
output.console:
  # 表示输出的内容以漂亮的格式显示
  pretty: true
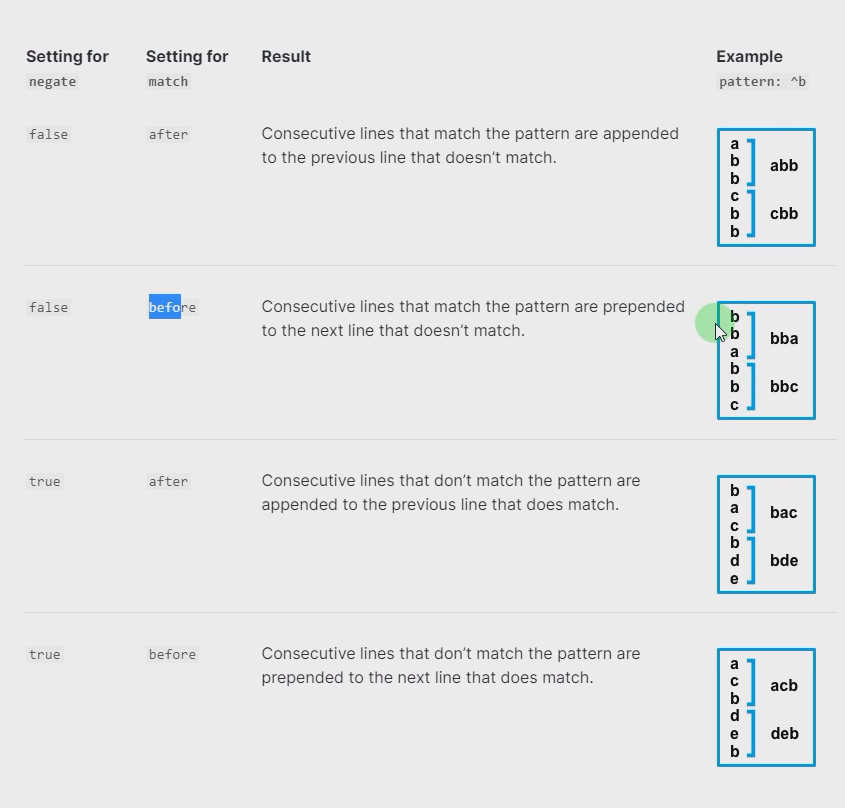
多行匹配
filebeat.inputs:
- type: log
  paths:
    - /app/apache-tomcat-9.0.73/logs/catalina*
  multiline.type: pattern
  multiline.pattern: '^\d{2}'
  multiline.negate: true
  multiline.match: after
